B4.1 – Chassis+8mm
- Instructions to create a B4.1 +8mm chassis -
Author - Ben Panic
PDF in English
-
en Français
Tools required
· 3mm tap
· 3mm drill bit
· 2mm drill bit
· x acto knife
· 4 d-clamps
· Hand file
· Loctite 480 super glue
· Dremel with assorted bits
Parts Required
· Associated T4 Truck chassis (composite)
· Carbon Fiber Strip 2.5mm thick 175mm length 15mm height
· 8 x (3x6mm countersunk screws)
Step 1 - Cut 11mm out of length of chassis
· Remove 11mm of material from T4 chassis with dremel, hacksaw or CNC Waterjet or alike.
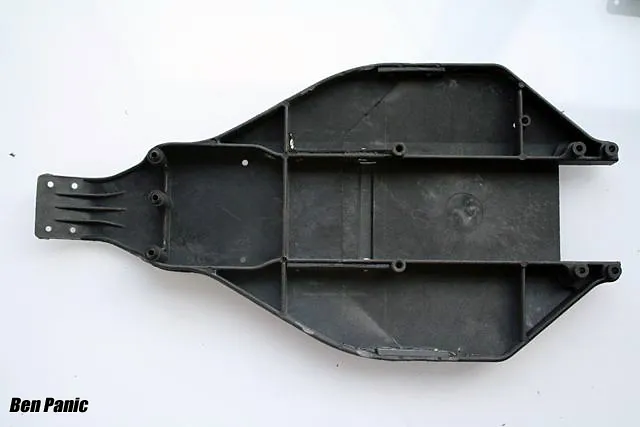
· If possible remove as per picture taking excess battery posts away
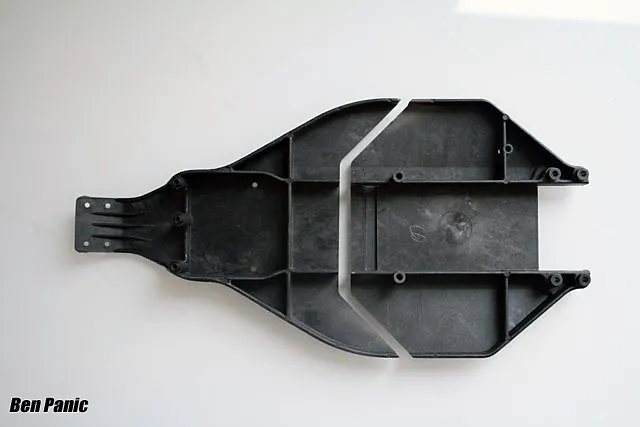
Step 2 - Cut 2 pieces of carbon 50mm x10mm for center rib strengtheners and set aside
Step 3 - Cut 2 pieces of carbon 25mm x 8mm for outer rib strengtheners and set aside
Step 4 – Chassis Prep
· Dremel or sand both carbon ribs and chassis where ribs will glue to. Ie inside of the outer rib on the chassis and outside of the battery ribs
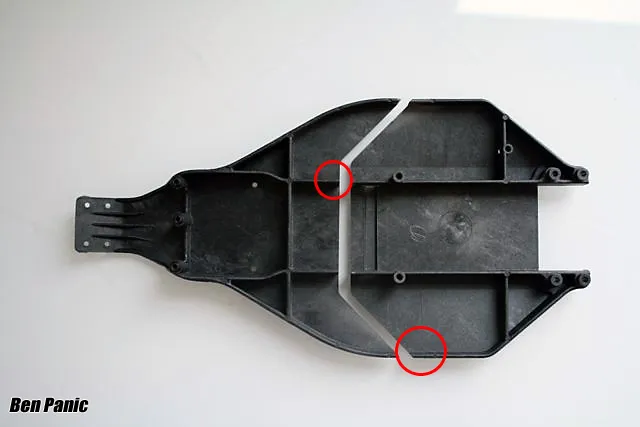
Step 5 – Chassis Gluing
· Check chassis alignment for level and make sure to get edges aligned for good gluing. Patience is required here and small amounts of material removed at a time. Use a hand file if required
· Place the chassis on a flat surface, ensure it all mates correctly and then clamp chassis to test fit
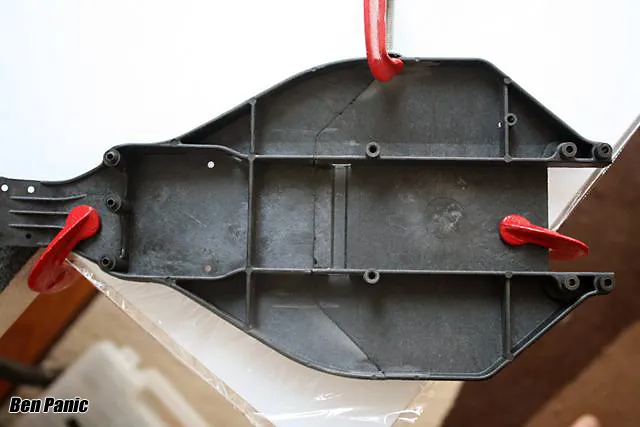
· Once you are comfortable with fit run a bead of Loctite 480 along the edge of one half of the chassis and join it up.
· Clamp it tight and ensure edges are butted up.
· Leave to dry
**Put some cling wrap on your flat surface so the chassis does not stick to it with excess glue.
Glued Chassis
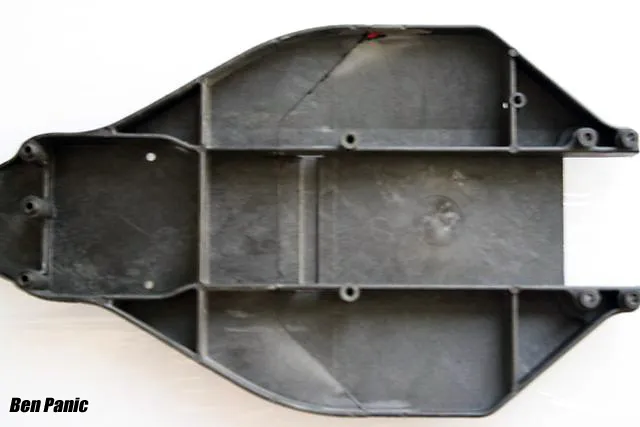
Step 7 – Outer Rib Carbon Strengtheners
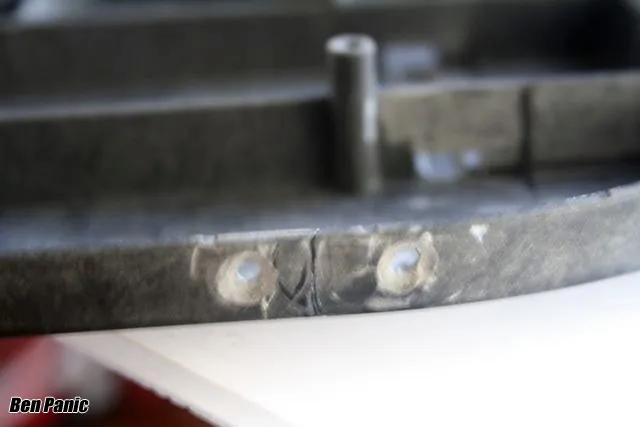
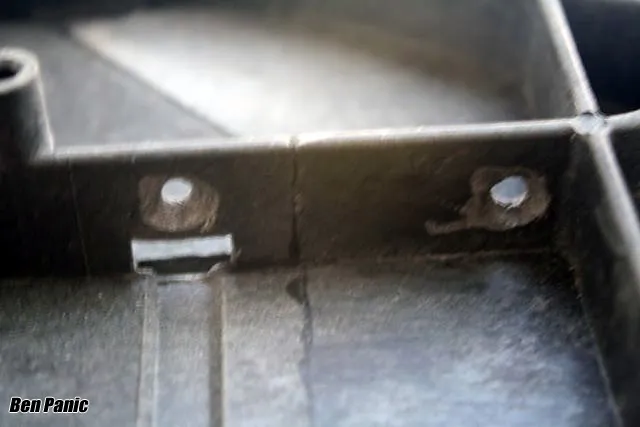
· Locate 25mm outer carbon strengtheners and clamp in position on chassis. Place a clamp on one half of the strengthener leaving enough room to drill one hole
· Drill one 2mm hole through chassis and through carbon strengthener
· Place a second clamp over the hole you just drilled
· Remove first clamp
· Drill the second 2mm hole through chassis and through carbon strengthener
· With 3mm tap proceed to tap carbon strengtheners
· Take 3mm drill bit and enlarge chassis holes
· Take the dremel with a stone tip and countersink holes in chassis
Step 8 – Gluing Outer Rib Carbon Strengtheners
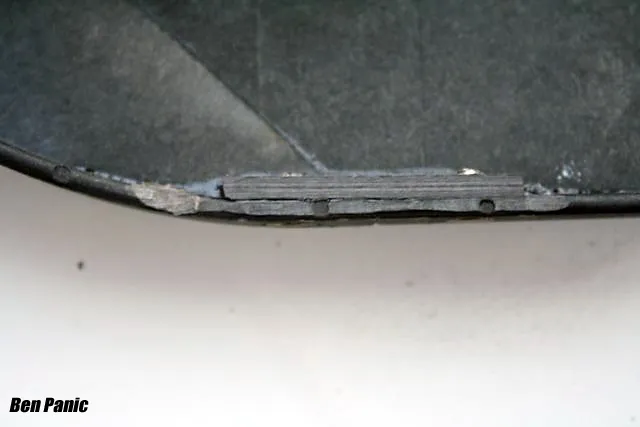
· Apply Loctite 480 to chassis and Outer Rib Carbon Strengtheners
· Screw Outer Rib Carbon Strengtheners to chassis tightly with 3x6mm c/s screws
· Let glue dry
Step 9 - Inner Rib Carbon Strengtheners
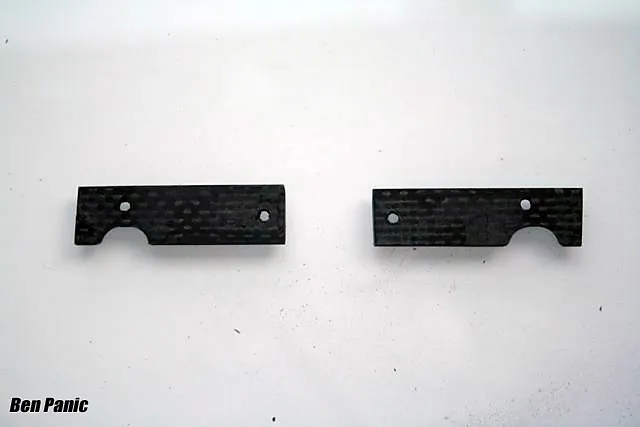
· Locate 50mm inner carbon strengtheners and place in chassis – mark holes to drill.
· Clamp to chassis
· Drill 2mm holes in inner carbon strengtheners where marked through carbon and through chassis. Keep as straight as possible
· Clamp inner carbon strengtheners to chassis rib
· Remove inner carbon strengtheners
· With 3mm drill bit finish hole on inner rib
· Place inner carbon strengtheners against rib and check alignment of holes
· Tap inner carbon strengtheners with 3mm drill bit
· Take the dremel with a stone tip and countersink holes in chassis inside ribs in battery compartment
· Locate esc rx slot in chassis and dremel carbon inner carbon strengthener to match
Step 10 – Gluing Inner Rib Carbon Strengtheners
· Apply Loctite 480 to chassis and inner Rib Carbon Strengtheners
· Screw inner Rib Carbon Strengtheners to chassis tightly with 3x6mm c/s screws
· Let glue dry
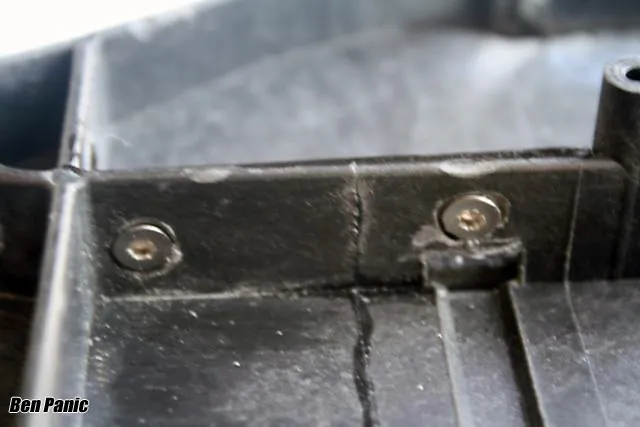
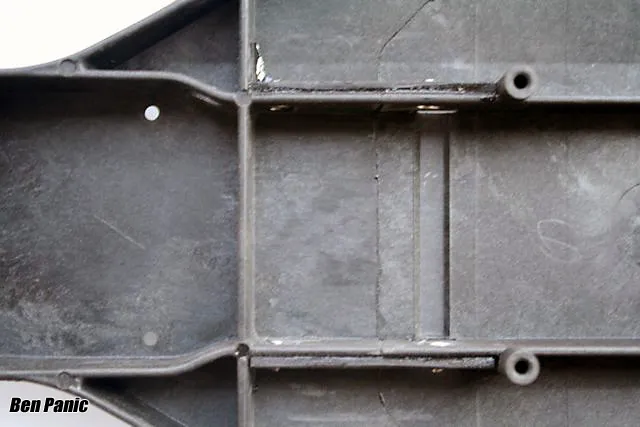
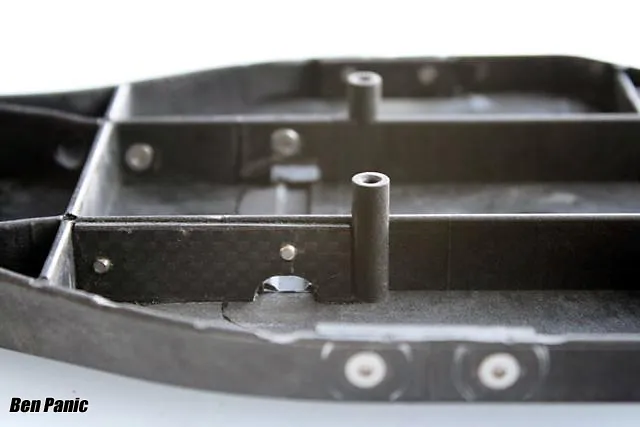
Completed Chassis
Ben Panic
Source: RC Tech